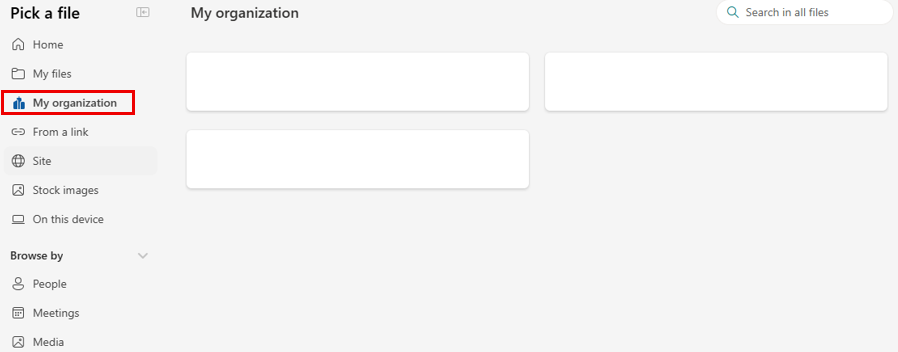
SharePoint has a feature called Organisation Assets. What is it for? Well, it is the home of your organisation's approved images, logos and templates and it makes them available to staff right where they are working. When someone adds an image to a page, they see a "My organization" option in the file picker, with your brand images ready to use. This is set up with organisation assets libraries, one site to hold them, and two short PnP PowerShell commands to register each library.
What an Org Assets Library Is
An organisation assets library is an ordinary document library that you register as a trusted source. Once registered, it appears as a card in the SharePoint file picker under "My organization". There are two main types:
- Image libraries for photos and logos, shown in the file picker when someone adds an image to a modern page or web part.
- Office template libraries for Word, Excel and PowerPoint templates, shown when someone creates a new document in the desktop apps.
This post works through an image library. The steps are the same for templates, just swap the asset type.
Step 1: Create the Org Assets Site
Create one site to hold all of your organisation assets libraries.
- All org assets libraries must be on the same site. Plan for one dedicated site.
- Any site type works: a communication site, a team site connected to a Microsoft 365 group, or a team site that isn't connected to a group.
- Add "Everyone except external users" as visitors. This is required, because everyone needs to be able to read the assets. If it's missing, the library won't appear for people. Private Microsoft 365 groups can't include this group, so avoid a private group for this site.
- Add the people who upload files as site members or owners.
- You can register up to 30 libraries per organisation, and only libraries, not folders.
Create a document library for each set of assets and upload your images, plus a thumbnail image to use as the card in the file picker. The thumbnail needs to be on the same site, Site Assets works fine for it.
Step 2: Register the Library
Connect to SharePoint with at least the SharePoint Administrator role:
Connect-PnPOnline -Url "https://tenantName-admin.sharepoint.com" -Interactive -ClientId <your-app-client-id>Then register the library:
Add-PnPOrgAssetsLibrary `
  -LibraryUrl "https://tenantName.sharepoint.com/sites/siteName/LibraryName" `
  -ThumbnailUrl "https://tenantName.sharepoint.com/sites/siteName/SiteAssets/Logo.png" `
  -OrgAssetType ImageDocumentLibrary
What each parameter does:
- LibraryUrl is the document library you are registering.
- ThumbnailUrl is the image shown as the card in the file picker. It has to be on the same site as the library.
- OrgAssetType is
ImageDocumentLibraryfor images, orOfficeTemplateLibraryfor Office templates. - CdnType is optional and defaults to Private. Only use Public if you need to, because it makes the files available without sign-in.
Registering a library also enables a content delivery network for the assets, and you may be prompted to confirm it.
It Takes Time to Appear
Don't expect to see the library straight away. After you register it, allow up to 24 hours for it to show up in the file picker and in the Office desktop apps. The command finishes in seconds and the library will still be missing for a while.
If it still isn't there after a day, check the usual causes:
- "Everyone except external users" isn't a visitor on the site.
- The thumbnail isn't on the same site as the library.
- The library was registered as the wrong asset type.
- The library isn't on the same site as your other org assets libraries.
Step 3: Check What Is Registered
To see which libraries are registered:
Get-PnPOrgAssetsLibrary | Format-List *This lists each registered library with its details, which is useful for confirming a registration worked while you wait for it to appear.
Summary
- Create one site for all your org assets, with "Everyone except external users" as visitors.
- Add a library for each set of assets, and upload a thumbnail to the same site.
- Register each library with
Add-PnPOrgAssetsLibrary. - Wait up to 24 hours, then check the file picker.
- Use
Get-PnPOrgAssetsLibraryto confirm what is registered.